Screenshots
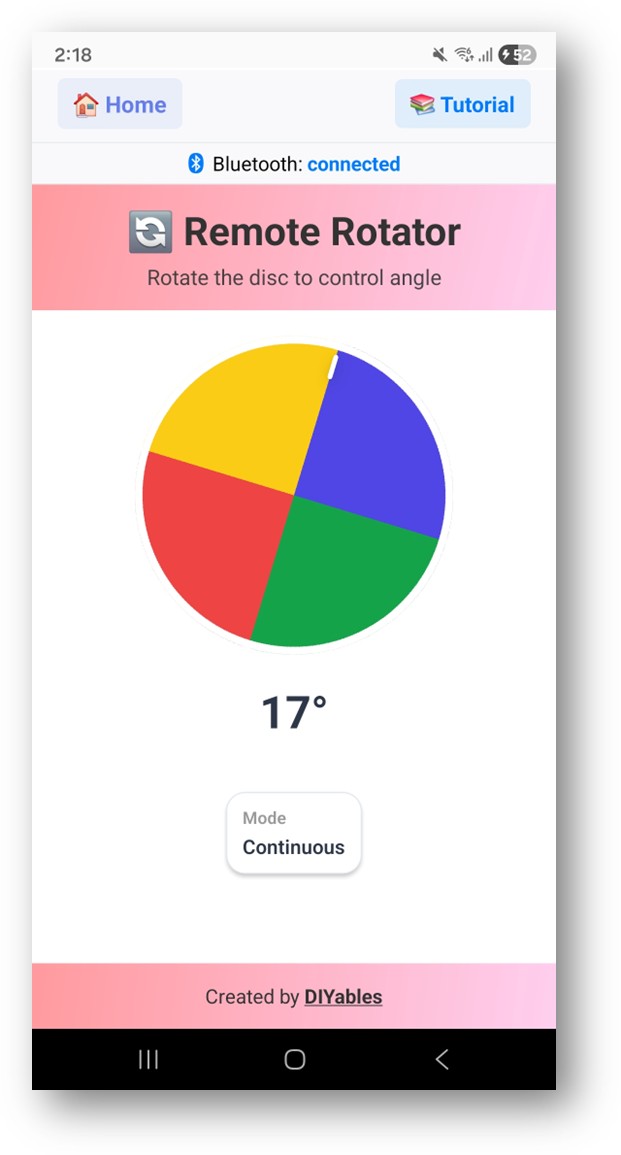
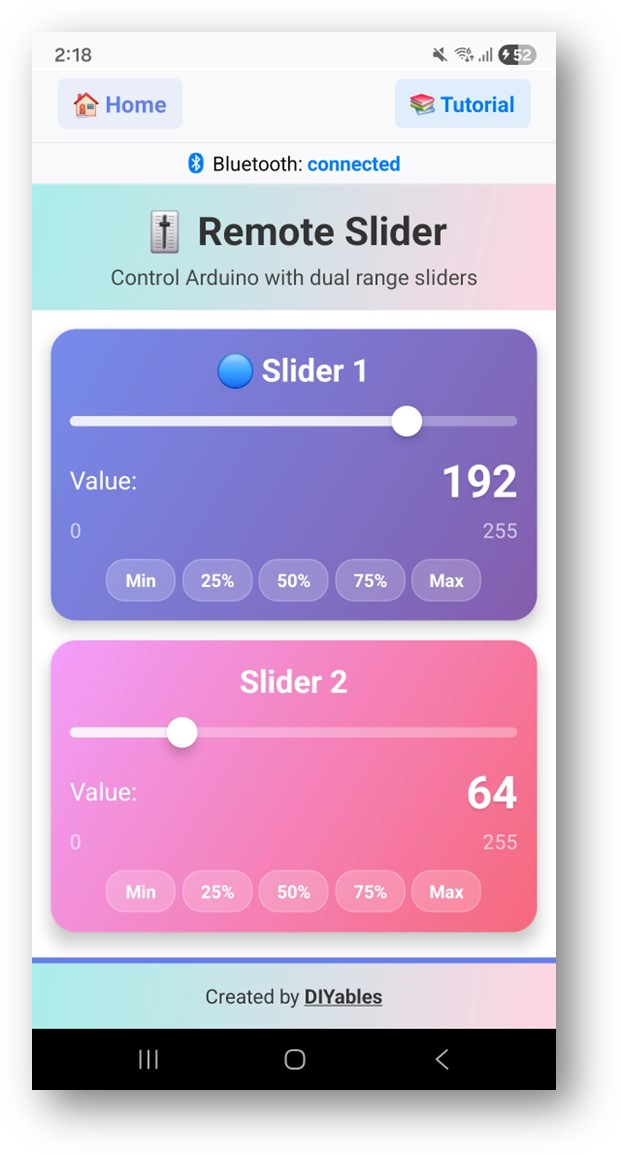
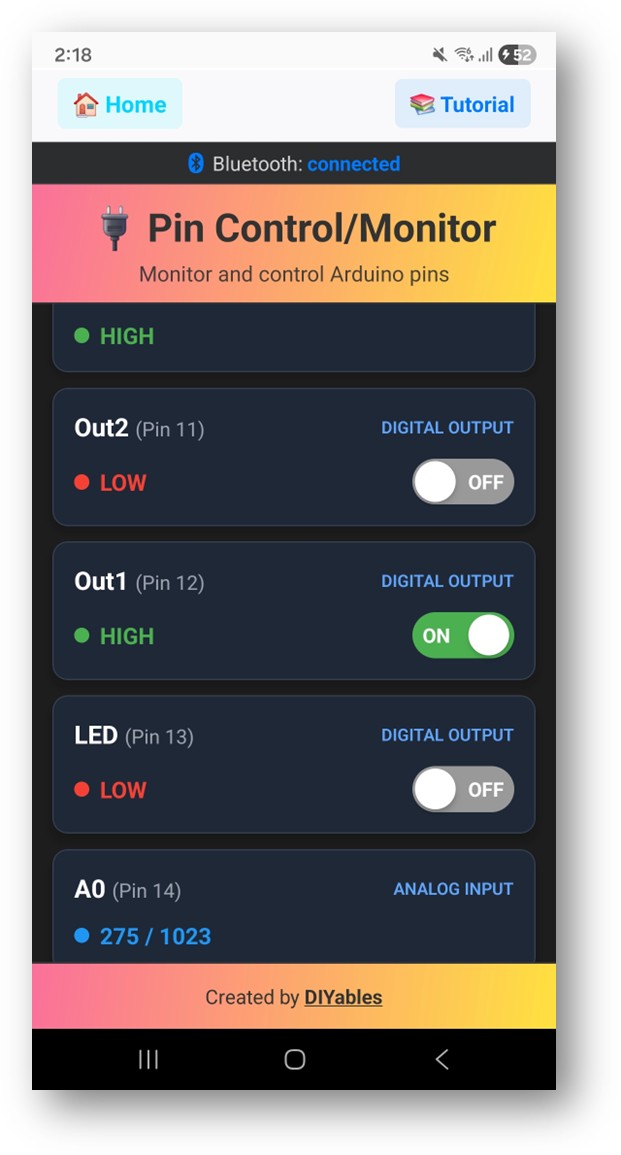
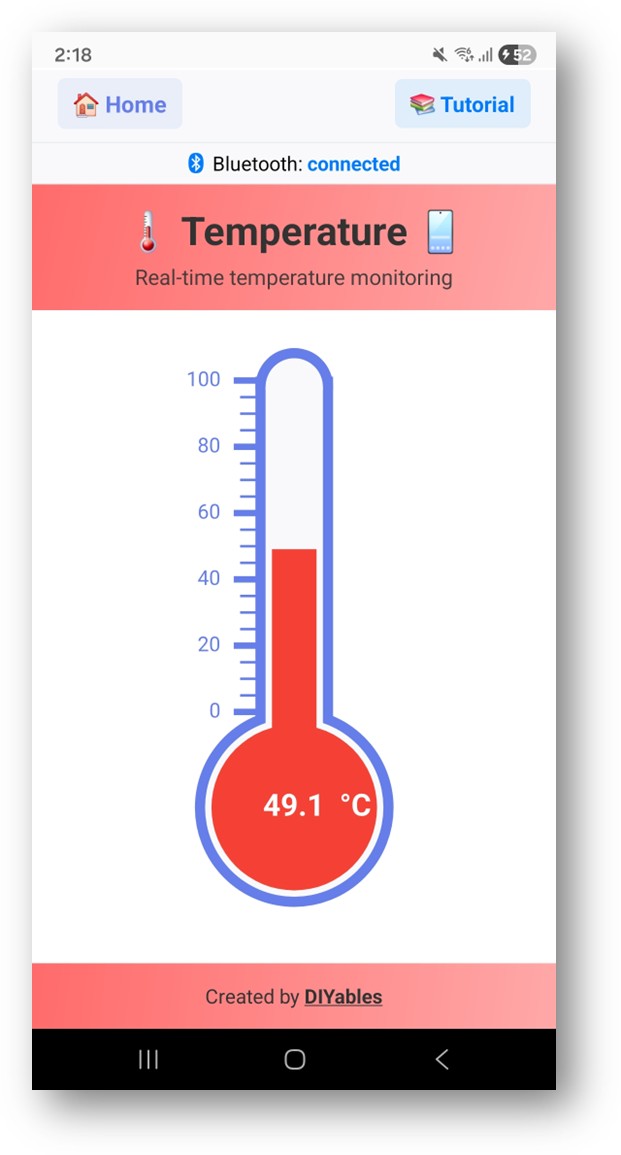
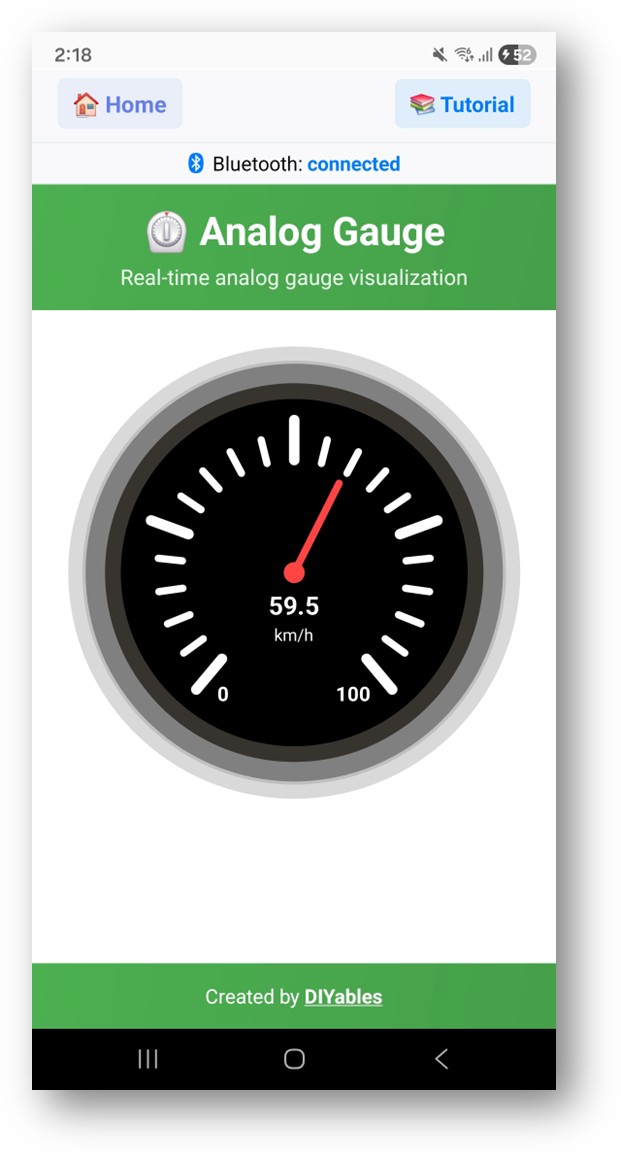
About this app
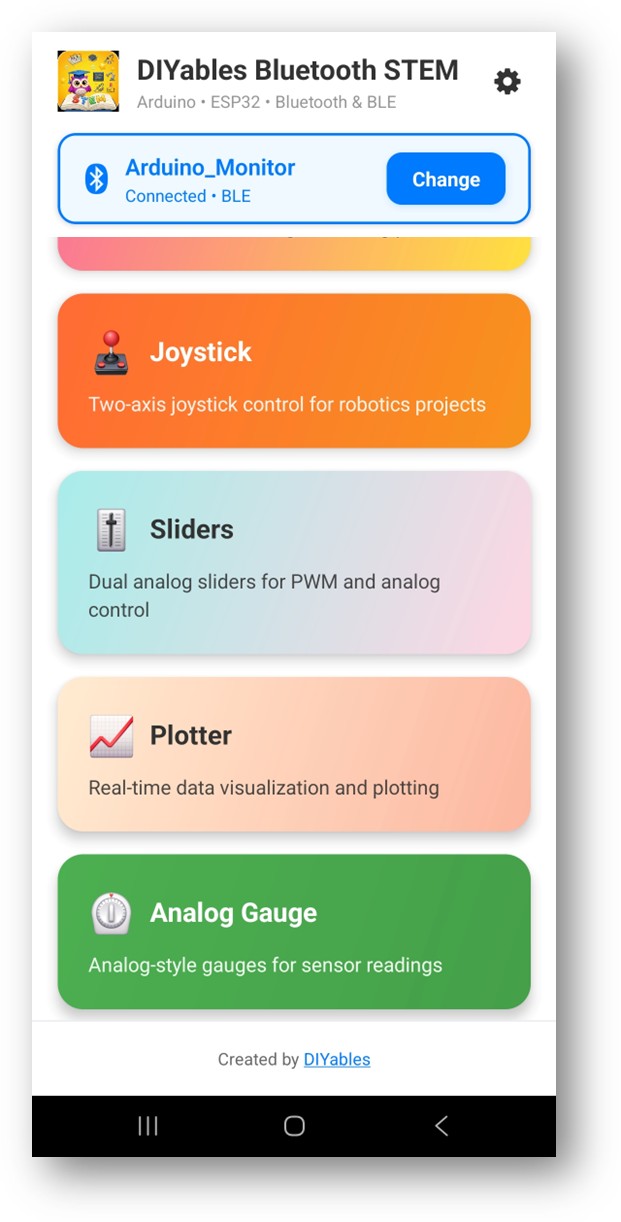
DIYables Bluetooth STEM bridges your phone and your hardware. Pair over Bluetooth to send commands, read sensors and bring STEM projects to life — ideal for classrooms, clubs and makers at home.
The app keeps the connection simple so learners can focus on building and experimenting instead of fighting with setup.
Why the Phone Is the Right Remote
Give a class a robot and the first question is always the same: *how do I drive it?*
Building a physical remote control means more hardware, more wiring and more things to go wrong before anyone learns anything. Writing a phone app from scratch means teaching app development before you can teach robotics — which is a term's work in itself, and not the subject you came to teach.
Using the phone that everyone already has removes both problems. The controls are on a screen the student already knows how to use, there is nothing extra to build, and the interesting part — the hardware, the code, the sensors — is where the attention stays.
There is a second benefit that shows up in a classroom quickly. When the remote is a phone, the project can move. A robot can drive across the room, a sensor can go out of the window, a buggy can be raced down a corridor. Hardware tethered to a laptop stays on the desk, and a project that stays on the desk is far less interesting to a twelve-year-old.
Setup Is the Part That Usually Ruins the Lesson
Anyone who has run a hardware workshop knows the pattern. Fifty minutes are scheduled. Thirty-five go on drivers, cables, pairing and one laptop that refuses to cooperate. Fifteen are left for the actual activity, and half the class never got started.
Keeping the connection simple is not a small feature — it is the difference between a lesson that happens and one that does not. Pair the phone, connect, and the student is controlling hardware. That is the whole setup.
The same applies at home. A weekend project that takes two hours to connect usually becomes a box in a cupboard.
Features
Connected in seconds
Pair with STEM kits and boards without a long setup process.
Send commands as you think of them
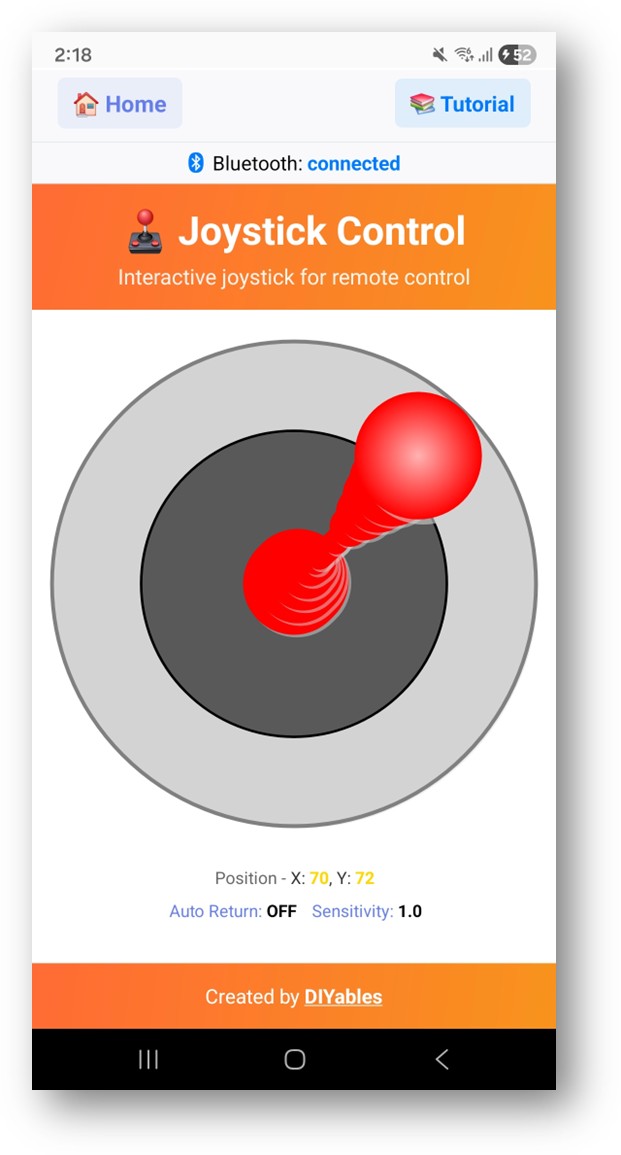
Drive motors, switch outputs and control hardware live.
See what your project sees
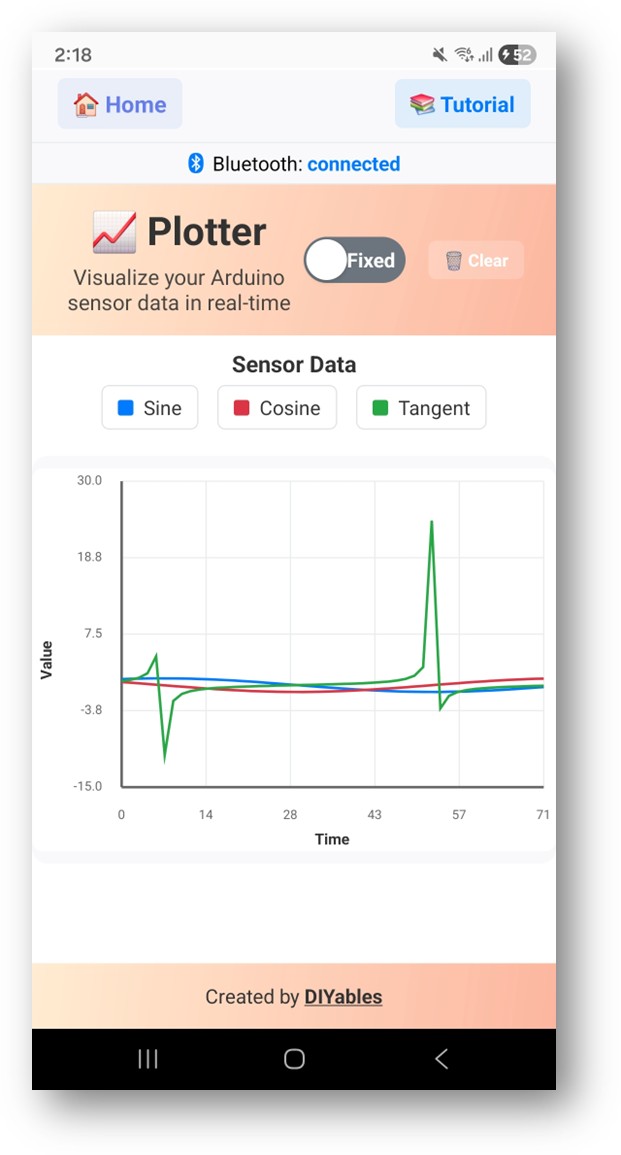
Display readings coming back from your hardware as they change.
Hands-on, not technical
An interface built for learners rather than for engineers.
Works for a room full of students
Every student has a phone; nobody needs a laptop each.
Arduino and other supported hardware
Made for the boards and kits used in STEM teaching.
Perfect For
- STEM classrooms where laptops are scarce but phones are not
- Robotics clubs building things that need to move around
- Teachers who want the lesson to start in the first five minutes
- Students learning electronics, controlling real hardware from day one
- Home makers building a weekend project with their children
- Science fair projects that need a clean, demonstrable control method
- Anyone new to Bluetooth hardware, before writing any app code
Why Controlling Real Hardware Matters
There is a real difference between a simulation and a motor that actually spins.
A student who writes code and watches a screen learns something. A student who writes code and watches a wheel turn learns the same thing plus the part that sticks — that their instructions changed something in the physical world. That moment is what makes people continue with engineering.
Physical projects also teach what screens never do. Batteries go flat. Wires come loose. Sensors read differently in sunlight than under a desk lamp. Bluetooth range is shorter through a wall. None of this appears in a simulator, and all of it is real engineering: the gap between what should happen and what does.
Being able to read live sensor values while the hardware runs makes that visible. A student watching a distance reading change as they move their hand is learning what a sensor actually is, in a way no diagram delivers.
Frequently Asked Questions
What is DIYables Bluetooth STEM for?
It connects your phone to STEM hardware over Bluetooth so you can send commands, control the hardware in real time and read sensor data back. It is aimed at students, teachers and makers who want to control a project without building a separate remote or writing a phone app first.
What hardware does it work with?
STEM kits and boards that communicate over Bluetooth, including Arduino-based hardware. The device needs to be set up to accept commands over a Bluetooth connection, which is the standard arrangement in most STEM kits and example projects.
Do students need their own laptops?
No, and that is much of the point. Phones replace laptops for the control side, which suits classrooms where there are far more phones in the room than computers. It also means a project can move around instead of staying tethered to a desk.
Do I need an internet connection?
No. Bluetooth is a direct link between the phone and the hardware, so it works in any classroom, workshop or garden regardless of Wi-Fi.
Is it free?
Yes, the app is free to download and use.
Which phones does it work on?
Android and iOS. Both need Bluetooth switched on, and Android also asks for location permission — that is a system requirement for Bluetooth scanning on Android rather than anything the app does with your location.
Is it suitable for beginners?
Yes. The interface is built for learners rather than engineers, and the connection process is deliberately short so a lesson is not spent on setup. It is a reasonable first step for anyone who has never controlled hardware from a phone before.
How to use it
- Power up your hardware and make sure Bluetooth is enabled on your phone
- Pair and connect — find your kit or board and connect to it
- Send commands — control motors, outputs and functions in real time
- Watch the sensors — read live data coming back from your project